Image resolution is all about how much detail is in a picture. It shows how clear and sharp the image is, telling us how finely the details can be shown. It’s especially handy when you’re dealing with things like converting from an image to vector. We use measurements like dots per inch (DPI) or pixels per inch (PPI) to gauge this clarity. Imagine it as having more tiny dots or pixels in higher resolution, making the picture look clear.
Image Resolution on Vector Conversion means turning a normal picture into a special kind that can be resized without losing quality. That’s why image resolution becomes super important for vector conversion. If we kick things off with a high-resolution image, the vector version will turn out sharp and detailed. So, you see, resolution plays a big role in making sure our vector pictures look fantastic and keep all the details we want intact. It’s like the secret sauce for great-looking vector conversions.
Understanding Image Resolution
Understanding Image Resolution on Vector Conversion is like knowing how clear and detailed a picture can be. The resolution is often expressed in terms of dots per inch (DPI) or pixels per inch (PPI).
In simpler terms, image resolution tells us how many tiny dots or pixels make up an image in a given space. When we have higher resolution, the picture looks clearer and has more details. It’s like having more tiny dots, so everything in the picture is sharper. Lower resolution means fewer dots, and the image might not be as clear or detailed. So, the relationship is simple: more dots, more clarity!
Common Units of Measurement
DPI (Dots Per Inch): DPI is a measure of the number of printed dots (or pixels in digital images) within one inch.
PPI (Pixels Per Inch): PPI is a similar concept to DPI but is often used in the context of digital images displayed on screens. Like DPI, higher PPI values mean more pixels in one inch, leading to clearer and sharper digital images.
LPI (Lines Per Inch): LPI is a term often used in printing pictures. In simple terms, it’s about turning regular pictures into tiny dots for printing. The LPI number tells us how many lines of these dots there are in one inch on the printing screen.
PPCM (Pixels Per Centimeter): Similar to PPII but using the metric system, PPCM measures the number of pixels in one centimeter.
Impact of Image Resolution on Vector Conversion
The impact of Image Resolution on vector conversion is a crucial factor in deciding how good digital images, photographs, and graphics will look. Let’s explore specific aspects of this impact:
Detail and Sharpness
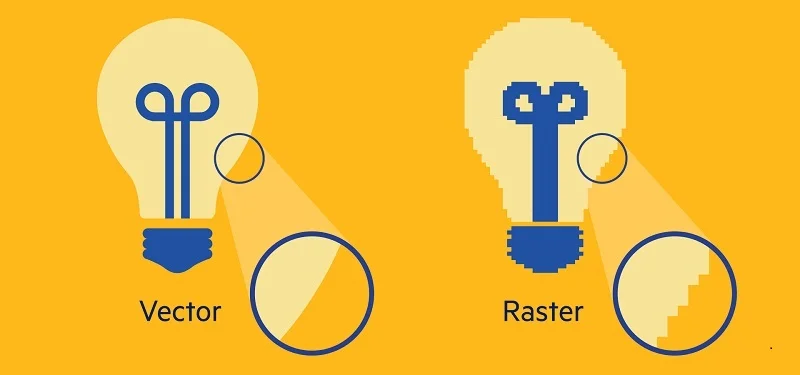
High Resolution: When we talk about high-resolution pictures, it means there are lots of tiny dots, capturing all the small details. So, when we turn these pictures into vector images, they stay super detailed and sharp. This is great for things like printing where we need everything to be clear.
Low Resolution: In low-resolution pictures, there are fewer tiny dots. So, when we convert them into vector images, we lose some of the fine details. The result is a softer-looking image, and sometimes it might even look a bit fuzzy. While this is okay for things like quickly sharing images online. But it might not be the best choice if we want everything to look super clear and detailed, like in printed pictures.
Clarity of Edges
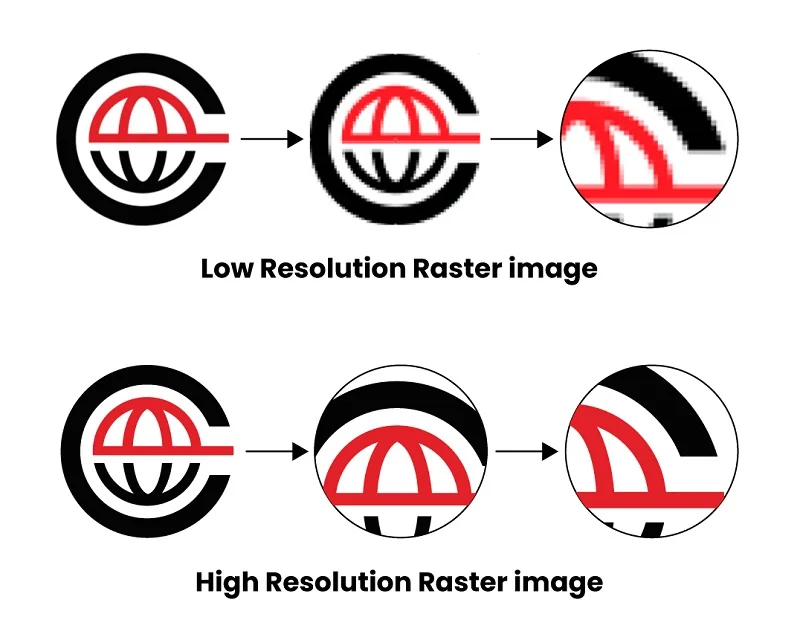
High Resolution: In high-resolution images, the edges of objects and details are very clear. When we transform such images into vector graphics, these clear edges are maintained. As a result, we get well-defined lines in the vectorized version.
Low Resolution: Conversely, low-resolution images with fewer tiny dots may have less clear edges. When converted into vector images, these edges might appear less defined, and there could be some blurring.
Color Accuracy
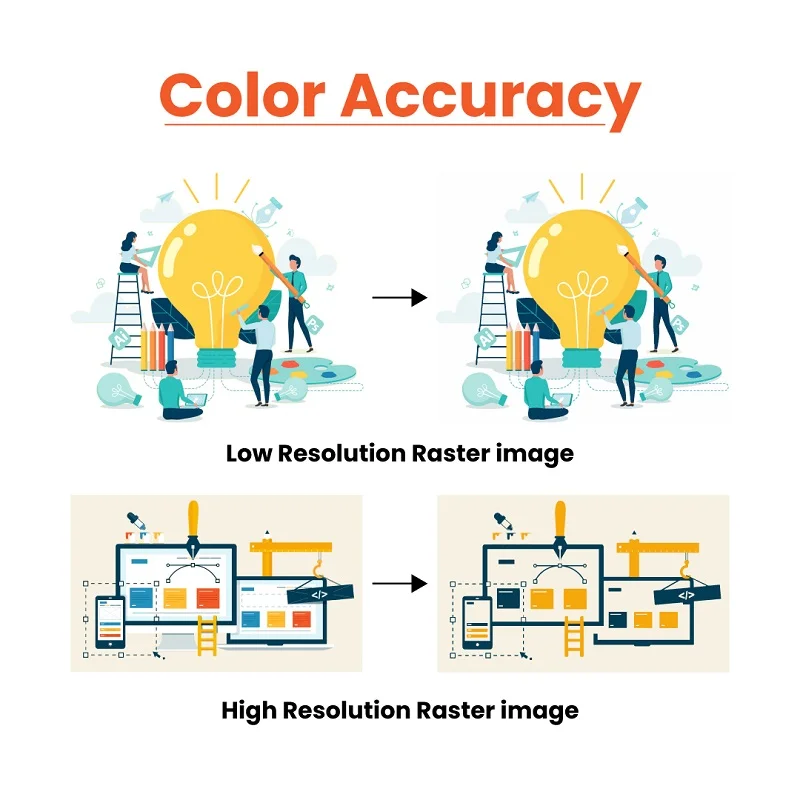
High Resolution: High-resolution pictures show colors accurately. When we turn them into vector graphics, the colors stay just as accurate. The vector version keeps all the exact color details, making it great for places where getting colors right is important.
Low Resolution: In low-resolution pictures, it’s tricky to get colors just right. Converting them to vector images might lead to mistakes in how colors look. It’s okay for quick online sharing, but not the best if you want super-accurate colors, especially in places where color accuracy matters a lot.
Suggested Article- color theory
Text and Font Legibility
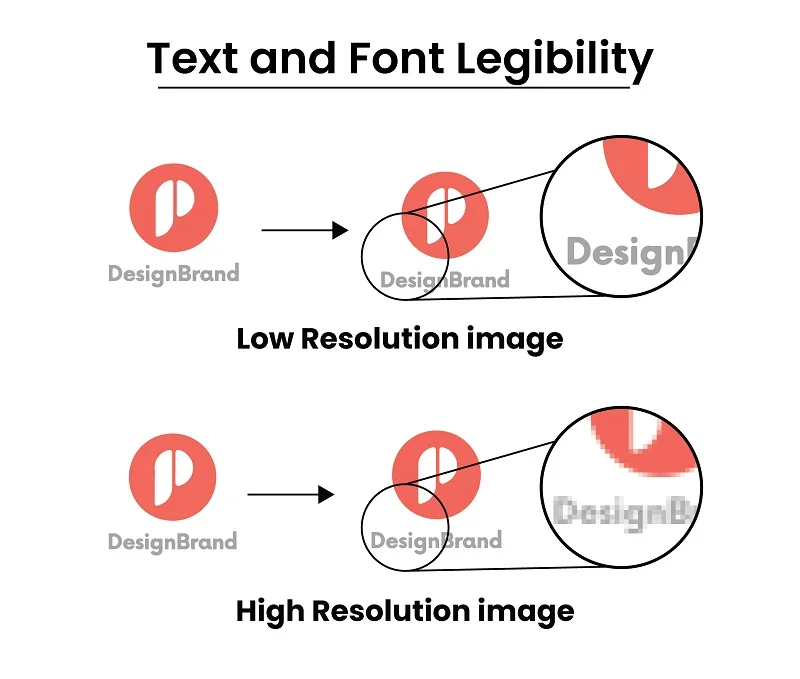
High Resolution: In high-resolution images, the text and fonts look clear and easy to read. When we turn these pictures into vector graphics, the text stays just as clear. This is super helpful for things like printing, where we need the text to be sharp and easy to read.
Low Resolution: Now, in pictures with fewer tiny dots, like in low-resolution images, making the text clear can be a bit tricky. When we turn these pictures into vector images, the text might not look as clear and easy to read. It’s okay if we’re quickly sharing things online. However, it may not be the best option for situations where having clear text is extremely important, such as in printed materials.
Pattern and Texture Detail
High Resolution: In high-resolution images, the patterns and textures look detailed. When we turn these pictures into vector graphics, the detailed patterns and textures stay the same. This is especially helpful if the original picture has lots of intricate design elements.
Low Resolution: Now, in pictures with fewer tiny dots, like in low-resolution images, we might lose some of the details in patterns and textures. When we turn these pictures into vector images, the result might not have the same richness and intricate details as the original.
Suggested Article- convert-low to high resolution
Facial Features and Expressions
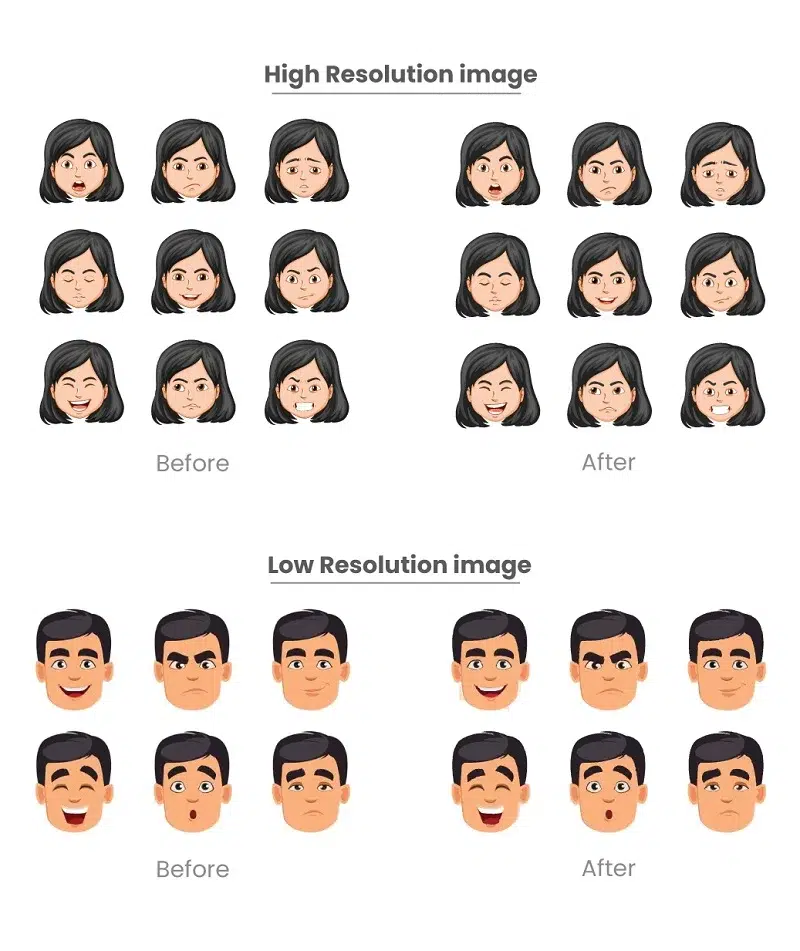
High Resolution: The facial features and expressions look just right, in high-resolution images. When we turn these pictures into vector graphics, the result keeps the details of the face, making it look real. This is important, especially for things like detailed portraits or artistic representations.
Low Resolution: Now, in low-resolution images, we might lose some details in the face when we turn them into vectors. The vectorized image might not keep all the small details needed to show the face accurately. This might not be the best choice for things like making detailed portraits or realistic digital avatars.
Artistic Elements
High Resolution: In pictures with lots of tiny dots (high resolution), all the artistic details stay as they are. When we turn these pictures into vector drawings, we keep all those creative details. This is great for things like art projects or designs where we want to keep everything looking exactly as it is.
Low Resolution: In low-resolution images, some of the artistic details might get lost when we turn them into vector drawings. The result might not have all the fine artistic parts of the original picture. It is good for online sharing but may lose important artistic details in critical projects.
File Size
High Resolution: If a picture has lots of tiny dots (high resolution), the file size is bigger. When we turn these pictures into vector drawings, the new file with all the details can also be big. It’s like having a big backpack to carry lots of stuff.
Low Resolution: In a picture with fewer tiny dots, which is low resolution, the file size is smaller. When we turn these pictures into vector drawings, the new file is generally smaller too. It’s like having a smaller backpack because there’s not as much stuff to carry. While smaller files are good for quickly sharing online, they may not have all the tiny details we had in the original picture.
Scalability
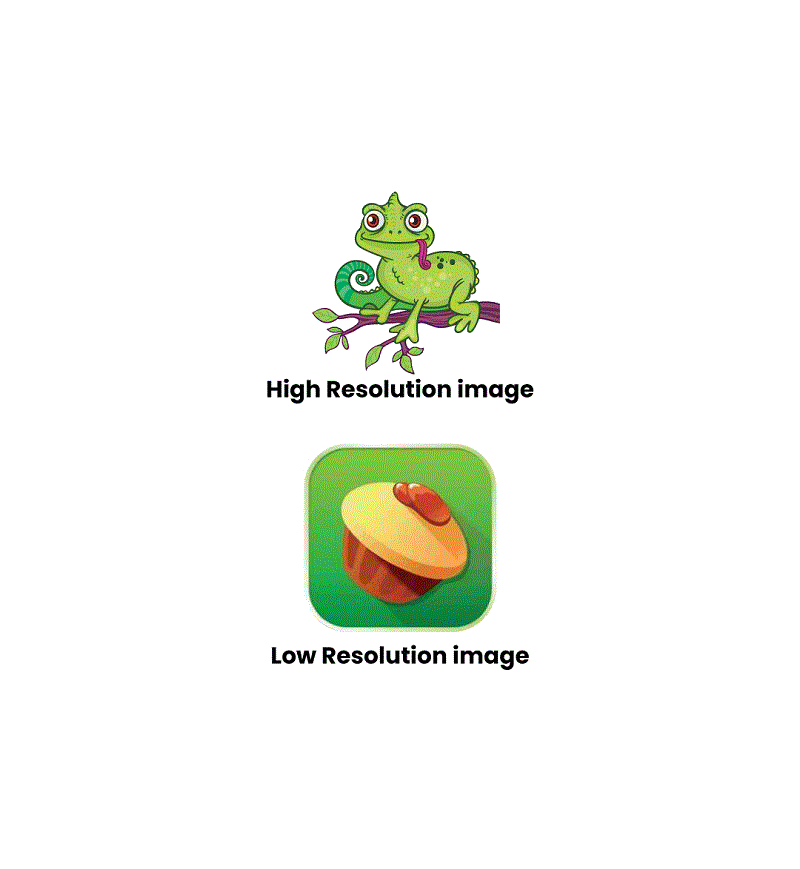
High Resolution: Imagine a picture with lots of tiny dots; it’s like having a super detailed map. When we convert pictures to drawings, we can resize them without losing details, like zooming in or out on a map.
Low Resolution: Imagine a simple map with fewer dots. When we enlarge such pictures, the details may become blurry. This is because the ability to increase the size of images without compromising their quality depends on the number of dots in the original image.
Practical Applications
High Resolution: Think of a high-resolution picture like a super-detailed photo. When we turn these detailed pictures into drawings, it’s great for making big posters or detailed graphics. The high resolution makes sure every little detail is captured. It is perfect for things where being super clear is important.
Low Resolution: On the flip side, if we have a low-resolution picture, it’s like having a simpler photo. When we turn these pictures into vector drawings, they might be better suited for quick sharing online or for simpler graphics. Low resolution is okay for scenarios where smaller file sizes and faster sharing are more important than having all the tiny details.
Considerations for Optimal Image Resolution on Vector Conversion
Balancing Detail and Manageability: Find a balance between having enough details and keeping the file size manageable. Choose a resolution that captures the needed details without making the vector file too big.
Importance of Preprocessing Techniques: Make your picture better before turning it into a vector. Cleaning up or enhancing the image can make the vector version look much nicer.
Choosing the Right Resolution for Specific Applications: Think about what you’re going to use the vector image for. If it’s for printing, you might need a detailed picture. For the web or digital use, a simpler picture might be okay.
Understanding the Output Size: Consider how big or small you want the final vector image to be. If it’s going to be big, you might need a higher resolution for more details.
Balancing Processing Speed and Quality: Think about how fast you want the computer to work. Sometimes, detailed pictures take longer to turn into vectors. Find a resolution that looks good but doesn’t take too long.
Consistency Across Image Elements: Make sure all parts of your picture have the same level of detail. This way, your vector image looks nice and not uneven.
Consideration of Source Image Quality: If your original picture isn’t very detailed, you might not get a super-detailed vector. Understand the limits of your starting picture.
Scalability Requirements: If you want to make your picture bigger or smaller a lot, pick a higher resolution. This way, it stays clear no matter the size.
Application of Compression Techniques: If you want a smaller file size, use tricks to make the picture take up less space. But be careful not to lose too much detail.
Testing and Iterative Adjustments: Try different resolutions and adjust based on how the picture looks and how big the file is. Keep trying until it looks just right for your project.
Tools and Software for Image Resolution Enhancement
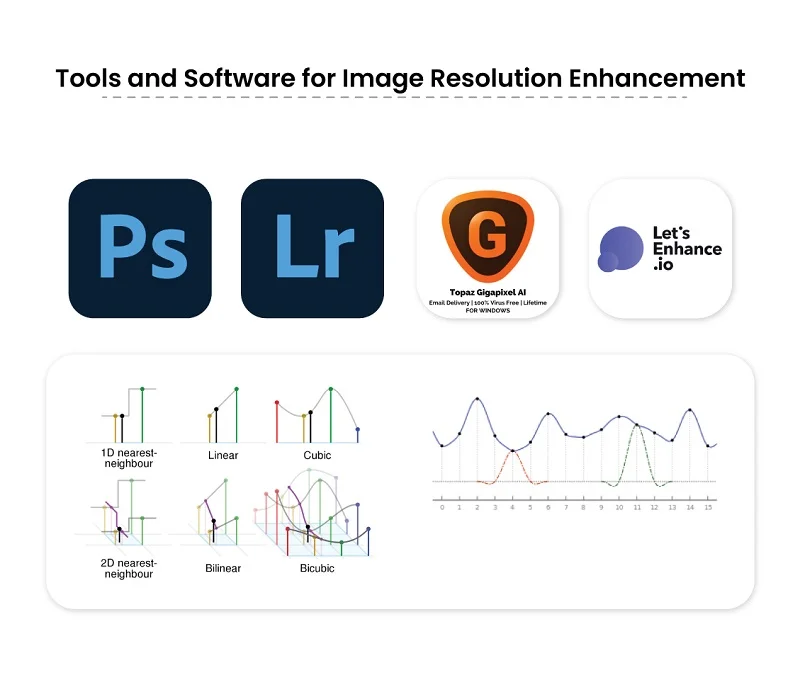
Enhancing image resolution involves various tools and software. Each with its unique features and capabilities. Here are notable options:
Image Upscaling Techniques
When we want to make a picture bigger, we use image upscaling. Different methods can do this, and two popular ones are:
Bicubic Interpolation: This is a simple way to make images larger. It looks at nearby colors and makes the picture smoother. Basic programs like Microsoft Paint use this.
Lanczos Resampling: A bit more advanced, this technique looks at a larger area of colors around each pixel. It’s great for keeping details when making pictures bigger. You might find this option in graphics software like GIMP.
AI-Based Resolution Enhancement Tools
Artificial Intelligence (AI) is changing how we improve pictures. Some tools using AI are:
Topaz Gigapixel AI: This smart tool uses deep learning to make pictures bigger while keeping small details. It works well with photos, digital art, and graphics.
Let’s Enhance: An online tool that makes images better using AI. It looks at the picture and adds details when making it bigger. It’s easy to use for many people.
Manual Preprocessing Options
Sometimes, we need to adjust things by hand to get the best result. Two examples are:
Adobe Photoshop: It’s not just for experts. Photoshop lets you control many things in a picture before making it bigger. You can change colors, sharpness, and more.
Lightroom: Another tool by Adobe, Lightroom is not just for pros. It helps you make small changes to colors, reduce unwanted noise, and enhance details before enlarging your picture.
In a nutshell, these tools and techniques help make your pictures look better, whether you want a quick fix or prefer a more hands-on approach.
Conclusion
Knowing how the resolution of images affects turning them into vectors is crucial. Having a higher resolution provides more details in an image. Conversely, lower resolution may result in losing some details during the conversion process. We’ve learned about cool tools like AI magic and image upscaling. These tools help us make pictures look even better. Pick the resolution based on what you need the vector for. Make small changes to the image using manual tricks before turning it into a vector. Experiment with AI tools for more advanced and impressive results. Find the sweet spot between detail and manageability by testing and adjusting until you’re happy. As we explore turning pictures into vectors, the mix of technology and creativity keeps improving. The tools and tricks may change, but the goal remains the same: making pictures look awesome in vector form. Cheers to the exciting journey of creating stunning visuals through the magic of vector conversion, especially focusing on Image Resolution on Vector Conversion

