A badge is an official identity of an organization or institute. Badges need to have a distorted free appearance. But pixel related image formats don’t hold the quality. So, what can we do for a better appearance for vectorize a badge?
Vectorize a badge
The question is a very common asking to us. Today we reveal our work process of vectorizing a badge step by step. Here we do it by using Adobe Illustrator CC. Let’s explore the tutorial
Step 1: Select a badge image
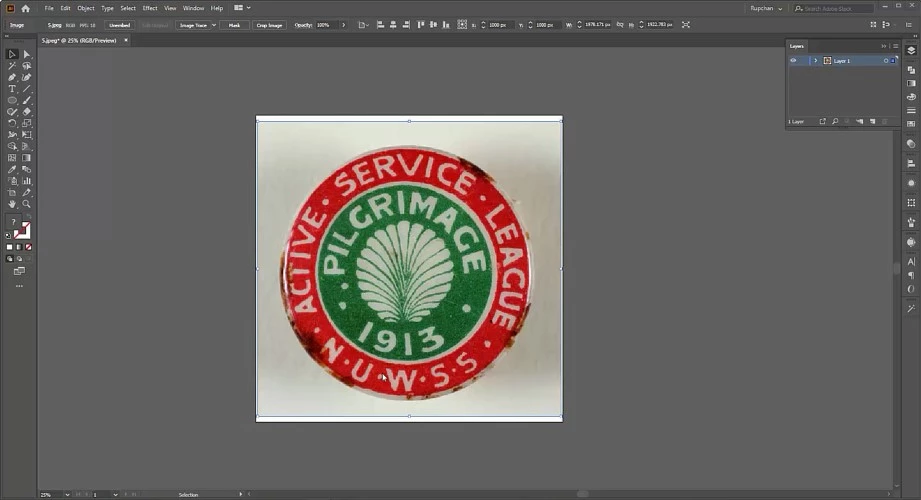
First, we need a selected badge image. After choosing, open it on the artboard of Adobe Illustrator CC.
Step 2: Customize Layer and Stroke
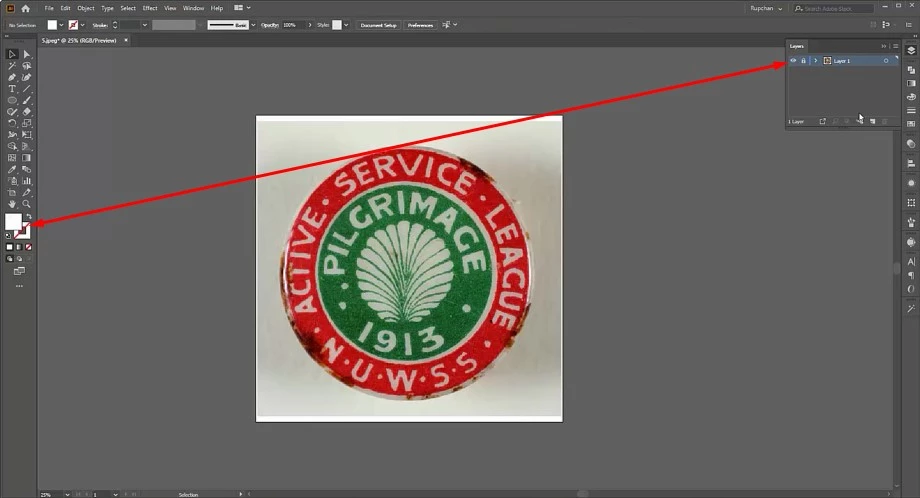
Before starting the vectorization, customize the Layer and Stroke properly. Lock the existing layer and Fill Color. Create a new layer and activate the stroke.
Step 3: Start with the Ellipse Tool
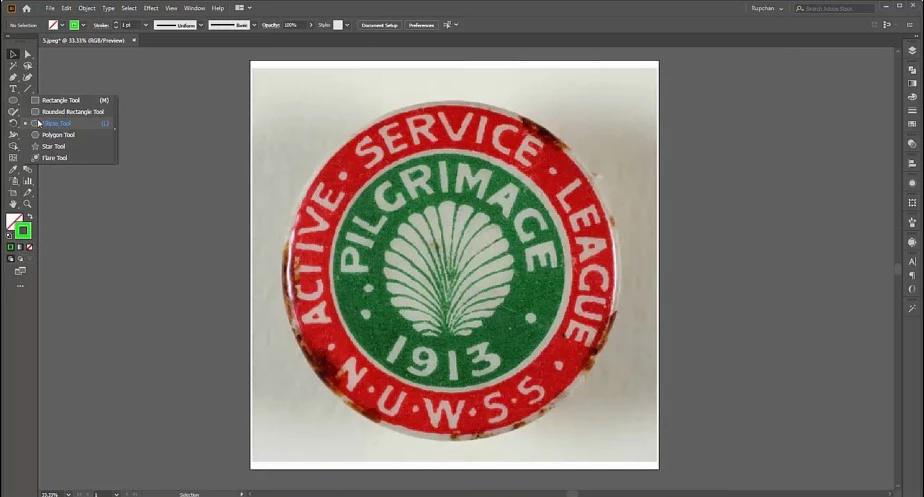
The badge image we selected had inside circular shapes. We can draw the shapes with the Ellipse Tool. It can be selected manually or by pressing ‘L’. We also draw the text borderline by using this tool.
Step 4: Use the Type Tool
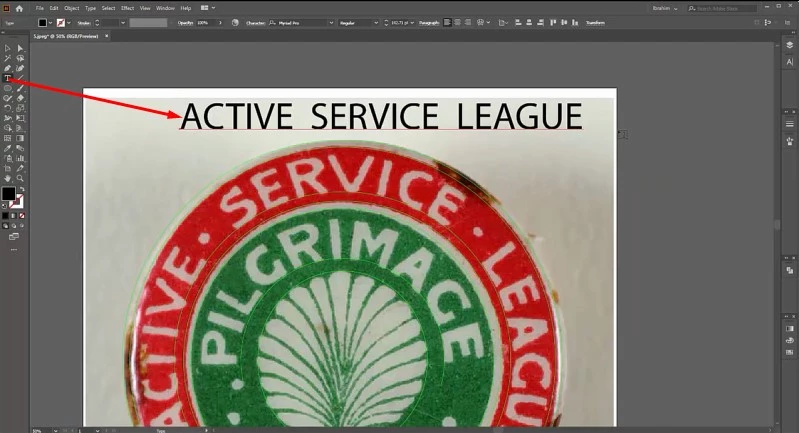
The texture is common usage in a badge. Our selected badge image has text as well. Here, we use the Type Tool. Type the text, match the font, and place accurately.
Step 5: Pen Tool usage
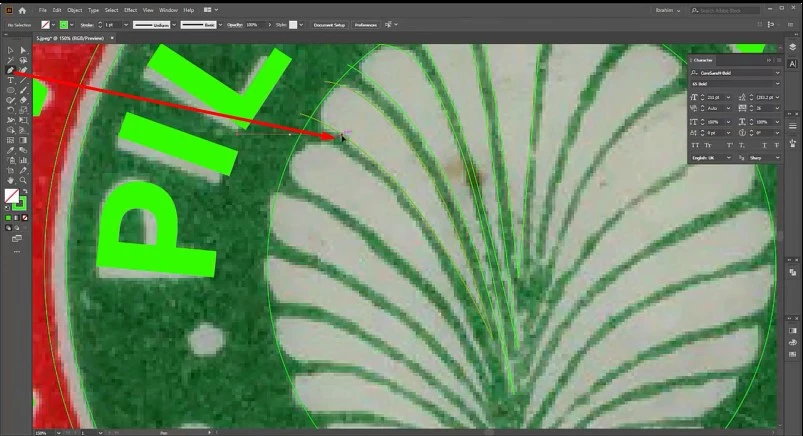
Our next step is drawing the inner path with the Pen Tool. We can select the tool manually or press ‘P’ for shortcut selection.
Step 6: Expand, colorize, and the end
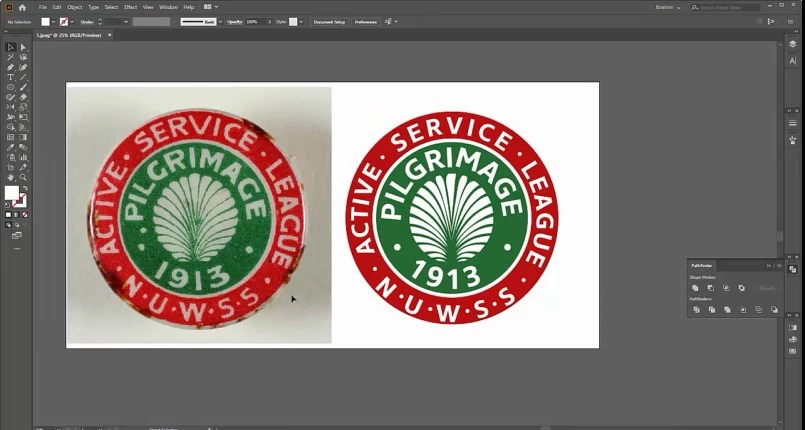
After drawing the path, let’s expand it. Colorize the vector image according to the badge color. Finally, save the converted work and export as needed.
So, what do you think now? This step by step process telling will make your understanding concrete and solid. If you need the vectorizing a badge service, may hire us without any hesitation. We offer discount for a bulk order.
You can also watch the video tutorial – How to Convert A Badge

