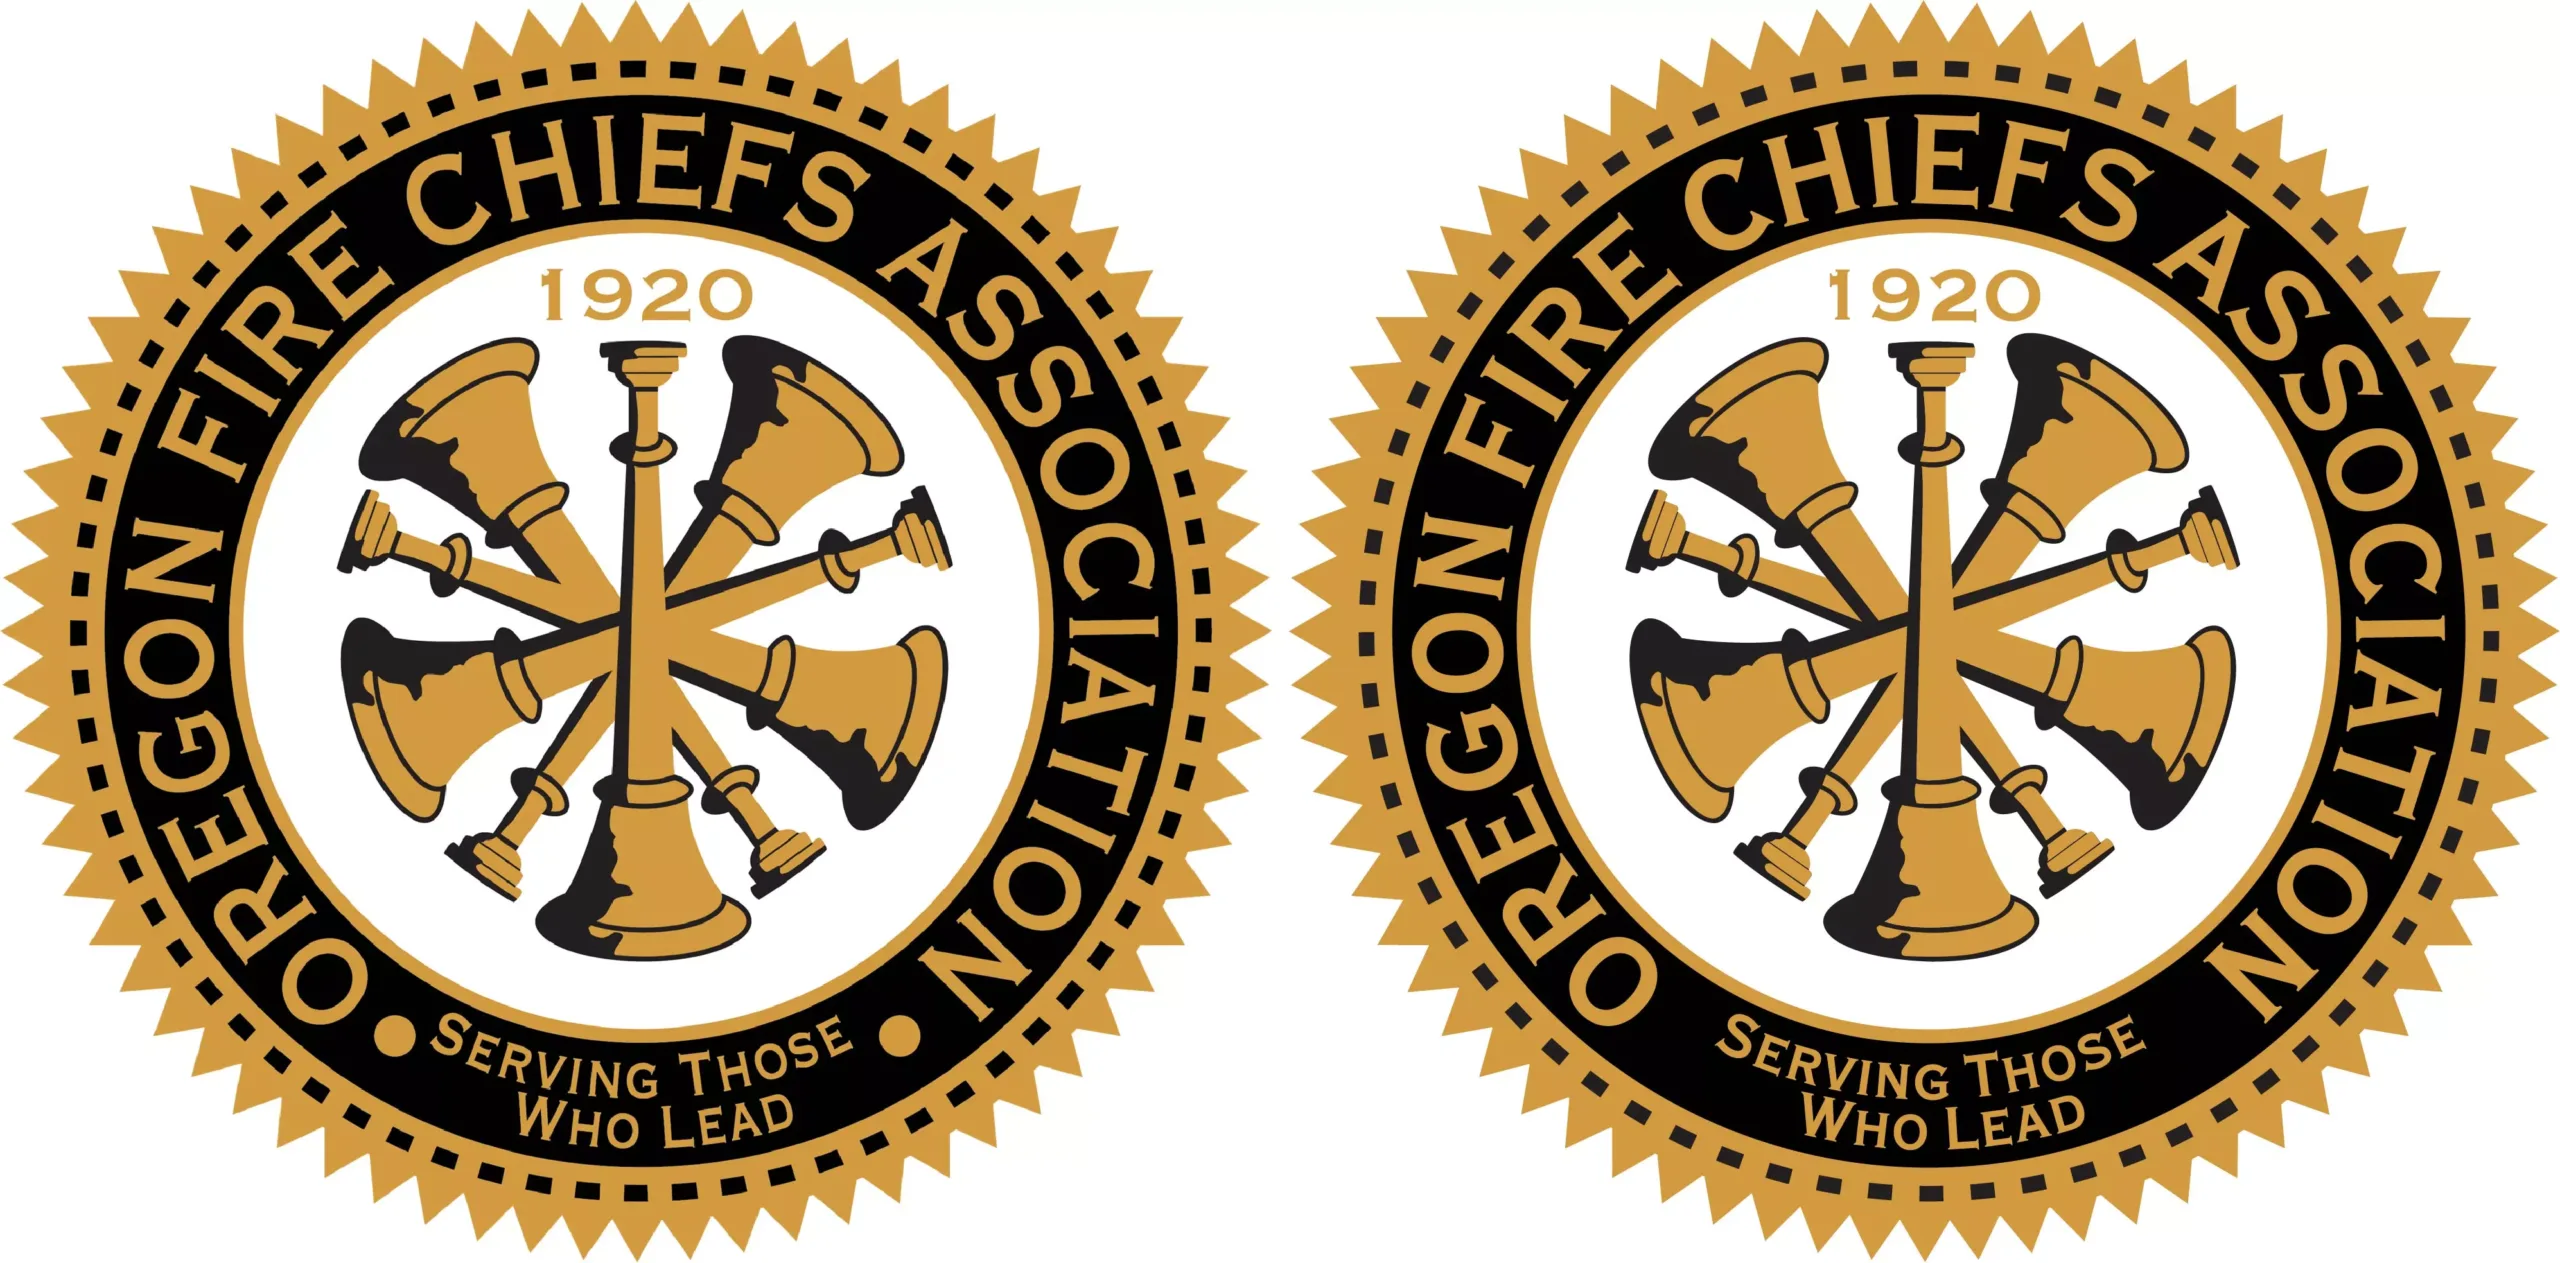
A business or organization has a logo, it’s an identification. But think that, if a logo file is looking distorted, what impression is created on stakeholders’ minds? So, what makes a logo distortion-free? The answer is obviously- vectorization. So you must know how to convert a low res logo to a vector.
Convert a low res Logo to Vector
Today, we make this tutorial for you to understand how to convert a low-resolution logo into a high res vector graphic. We use Adobe Illustrator CC here. Let’s explore-
Step 1: Start logo vectorization
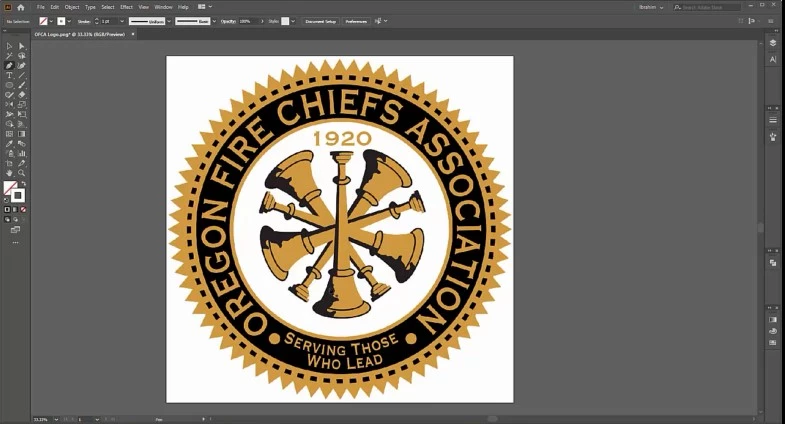
Select a logo first. Open it on the artboard of Adobe Illustrator. Customize the Layer and Stroke.
Step 2: Use of Pen Tool
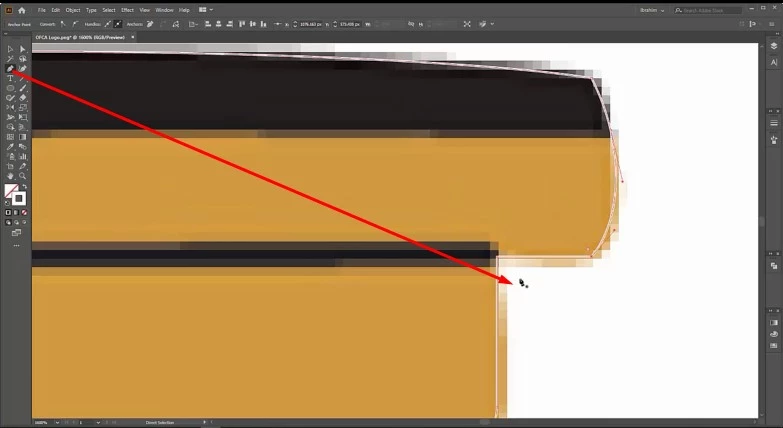
The Pen Tool is considered the main weapon of vector conversion. There are similar objects in our chosen logo. Draw the path of a single object.
Step 3: Colorizing, grouping and duplicate
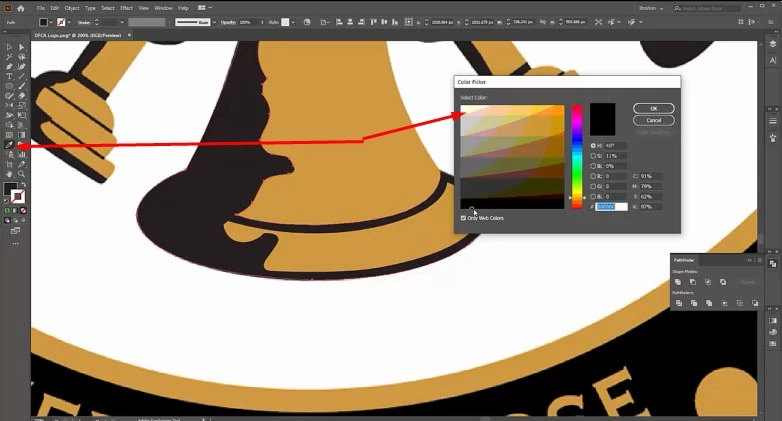
Colorizing the drawing path with the Eyedropper Tool. Then, group it. Finally, duplicate the drawing and place them one by one.
Step 4: Use of related tools
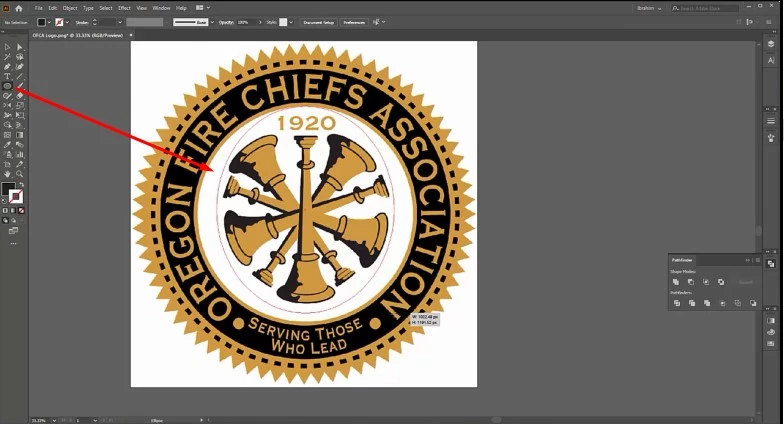
We use the Ellipse Tool for drawing round shapes. We also need the Magic Wand Tool and Reflect Tool to complete the logo vectorization.
Step 5: Input the text
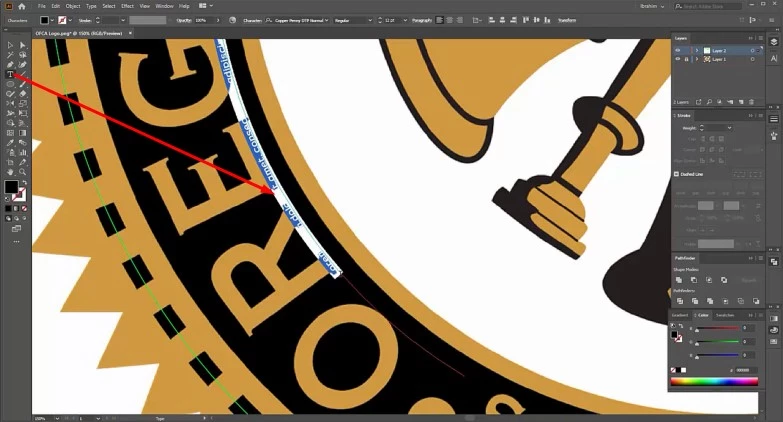
Logos may have text like we chose. We use the Type Tool here. Write down the text and customize it.
Step 6: Draw the internal box
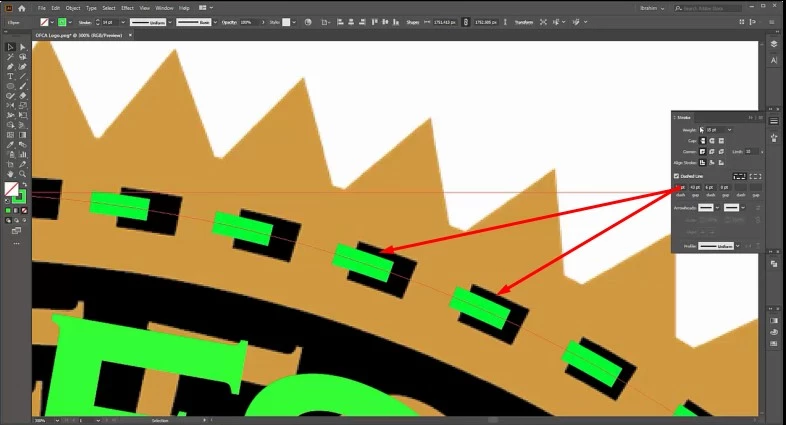
There are boxes in the logo. These are accommodated one by one with the same distance. To do so, go to the Stroke. Select the ‘Dashed line’ and customize it properly.
Step 7: Let’s finish it
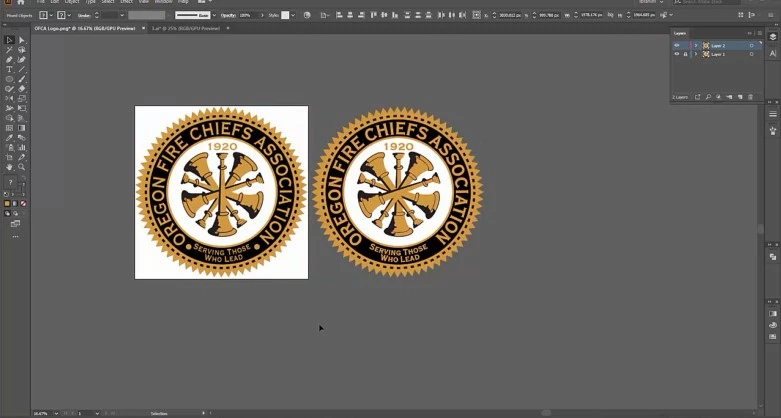
Finally, expand the drawing. Save the file. Separate the vectorized logo. Export it as needed.
We try to relieve the complexity of convert a low res logo to vector. If you need the vector logo conversion service, you can hire us. We have a 10 years experienced team to serve your order in time with a convenient price.
You can watch the video tutorial – How to Convert a Low Resolution Logo

