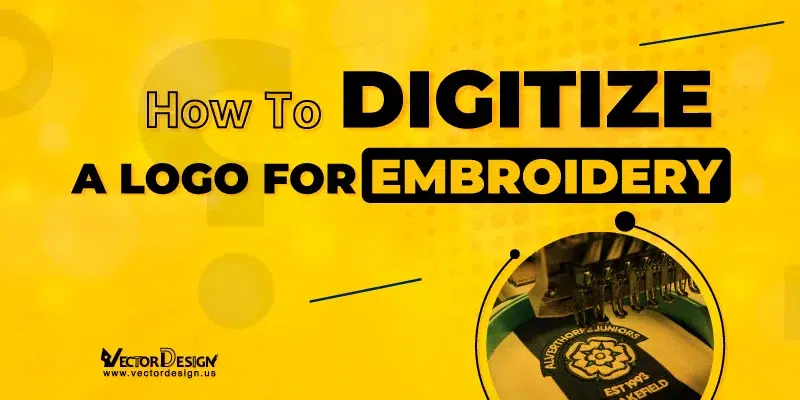
Digitize a logo for embroidery makes your designs come to life. It’s like turning a picture into a beautiful embroidered pattern. This matters because it lets you put your logo on things like shirts or hats. In doing so, it gives these items a distinct and professional appearance.
Digitization transforms everyday pictures into special embroidery-ready designs. A computer program makes a pattern for embroidery machines from the picture. You’ll need a computer with special digitization software for this. It’s like a digital artist’s canvas. You’ll also need an embroidery machine to put the design on your clothes. We’ll discuss these tools later; they’re like your paint and brush for this creative process.
What is Logo Digitization?
Logo digitization means turning a logo picture into a set of rules for a special sewing machine. These rules help the machine sew the logo onto things like clothes or hats. This is really handy for people and businesses who want to make their stuff special with their logo. Embroidery digitizing makes sure the logo looks just right when it’s stitched on. It’s like teaching a machine to copy your logo with thread. This way, you can put your logo on different things and it will always look good.
Accepted Embroidery File Formats
Embroidery file formats are the languages that embroidery machines understand. They help turn beautiful designs into stitched art. Let’s dive in and discover how these formats bring your embroidery dreams to life.
- DST: This is a widely used file format for embroidery. It’s compatible with many embroidery machines and software.
- EXP: EXP files are used in various embroidery software and machines to create intricate designs.
- JEF: The JEF format is specific to Janome embroidery machines. This is perfect for those using Janome equipment.
- PES: PES files are commonly used with Brother embroidery machines. It’s a popular format for many home embroiderers.
- KWK: This format is recognized by some older embroidery machines. It’s less common in modern embroidery.
- DSB: DSB files are used with Barudan embroidery machines. Barudan is a well-known brand in the embroidery industry.
- TAP: TAP is used with Happy embroidery machines. This format is specific to machines made by the Happy company.
- XXX: XXX is a generic embroidery format that many different embroidery machines can read. It’s versatile and widely compatible.
How to Digitize a Logo: Step by Step Guide
Have you ever wanted to put your logo on clothes or hats? This guide will show you the easy way of digitizing embroidery logo. Whether you own a business or simply enjoy embroidery digitizing, we’ll keep it easy for you. Here we have discussed important steps of logo digitization for embroidery
Step 1: Upload Logo for Digitizing
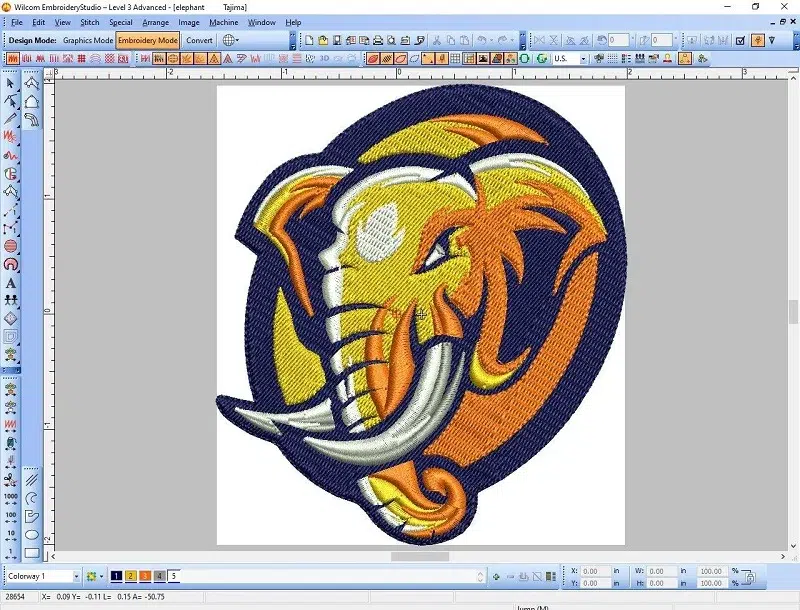
In the first step of logo digitization, you need to use specialized digitization software to upload your logo image. After opening the software, bring in your logo file (like JPEG or PNG), and place it in the software’s workspace. This step lets you check your logo’s details. You’re preparing to convert your logo into stitches. These stitches will guide the embroidery machine.
Step 2: Adjust Embroidery Design Size
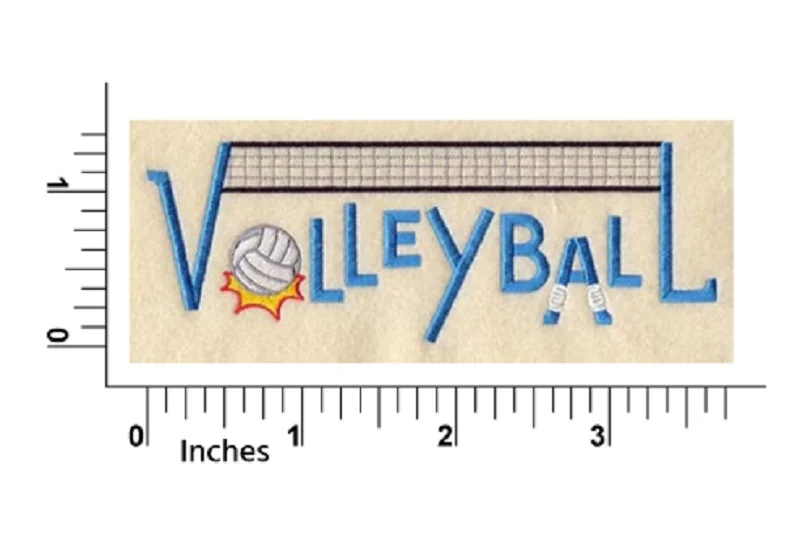
Now with your logo in the program, adjust its size. You can resize it, but keep it in the right shape. Consider your embroidery machine’s capabilities – some may not handle very large or very small designs. You can even check how your resized logo will look before moving on. This step is about getting your logo ready for embroidery.
Step 3: Select Stitch Type
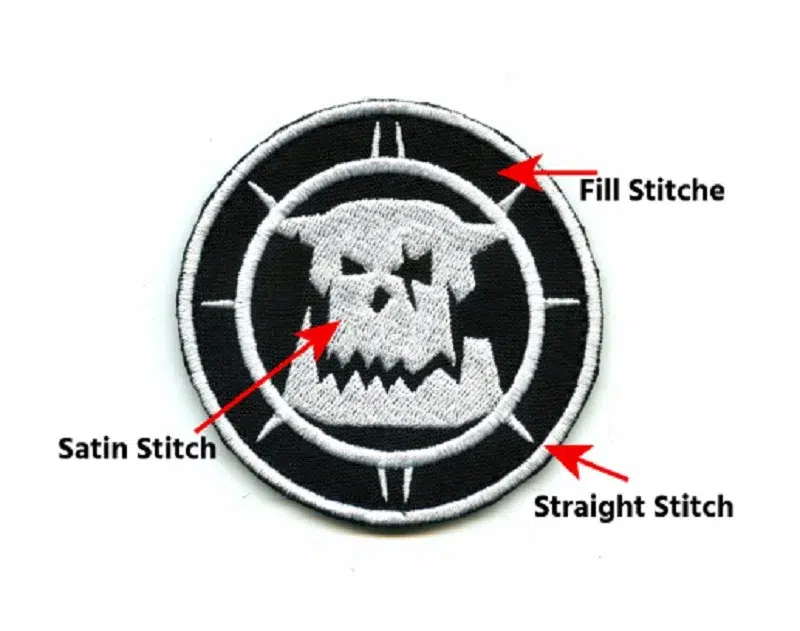
Once you’ve adjusted the size, the next big step is picking the right stitch type. In this step, you’ll decide on the most suitable machine embroidery stitch type from the three primary options:
- Straight Stitches
Straight stitches are simple and straightforward, like drawing a straight line with a thread. They consist of individual stitches placed in a continuous line.
Common uses of Straight Stitches:
- Detailing and sharp edges
- Outlining shapes and letters
- Cross-hatching for texture
- Satin Stitches
Satin stitches are smooth and glossy, forming a dense, shiny surface. They consist of closely spaced stitches that give a polished appearance.
Common uses of Satin Stitches:
- Text and logos
- Borders and frames
- Fine curved lines
- Fill Stitches
Fill stitches are like coloring in shapes with thread. They are used for covering solid areas of your logo, providing a smooth and even appearance. They fill in an outlined shape with rows of stitches.
Common uses of Fill Stitches:
Filling solid areas
Creating textured backgrounds
Adding depth and patterns
Step 4: Set Stitch Direction
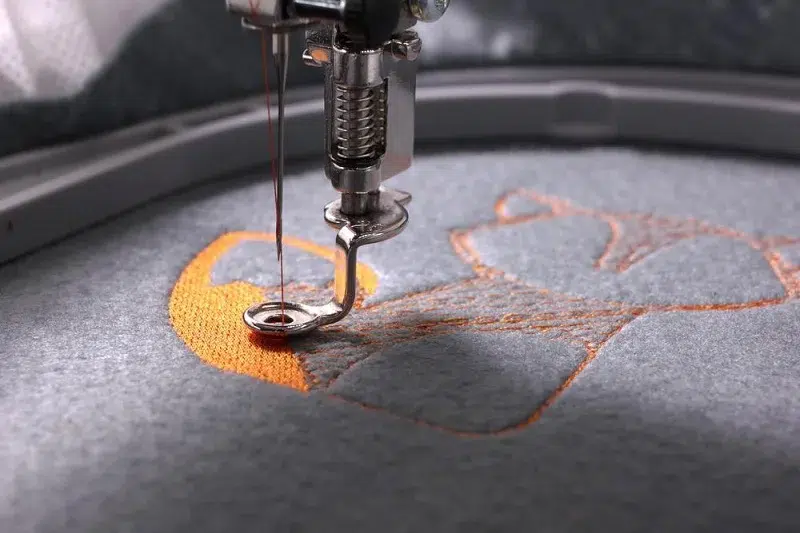
Now, let’s decide how our stitches should go. It’s like choosing the path for our threads in our logo. We can make them go up and down, side to side, or in slanted lines. This choice affects how our logo will look and feel. For instance, if we pick stitches that go side to side, our logo will seem smoother, while up and down stitches can make it look deeper. Consider logo details, test different directions in the program for the best look. By doing this, we’re making our embroidered logo look just the way we want it to.
Step 5: Select Embroidery Thread Colors
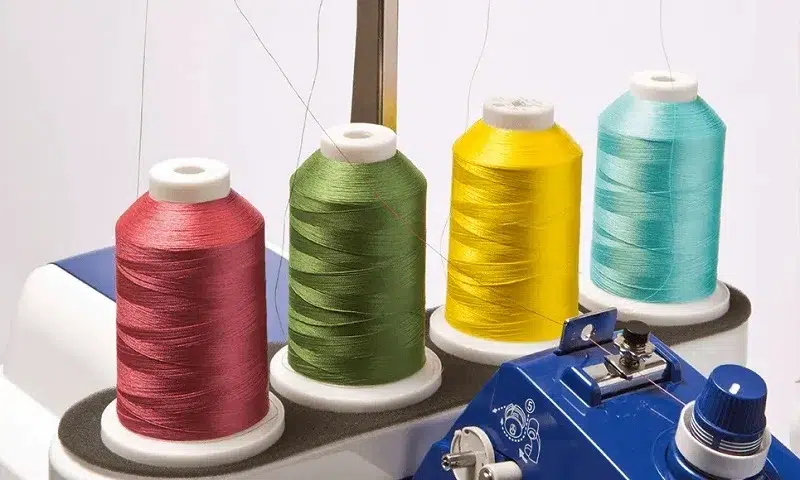
In this step of logo digitization for embroidery, it’s time to pick the colors for our embroidery threads. Think of it like choosing the paint for a picture. You should select the thread colors that match your logo to make it look colorful and vibrant. Many digitization software programs provide a wide range of thread colors. This helps you find the perfect shades to bring your design to life.
Step 6: Transport the File to Your Embroidery Machine
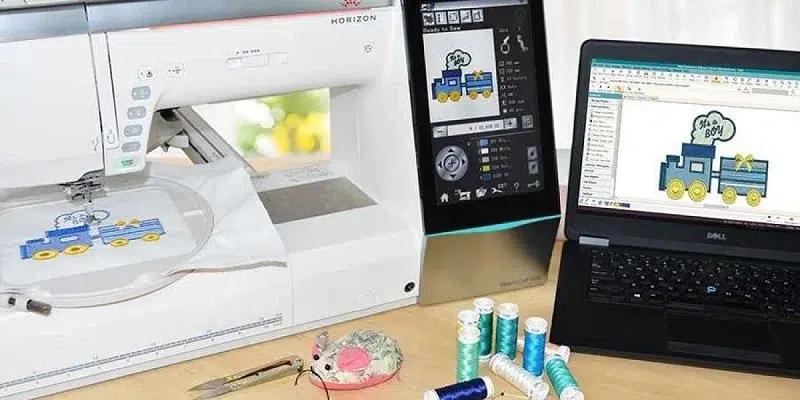
Here we need to move our digitized logo from the computer to our embroidery machine. Save the logo in a format the machine can read, such as a USB drive or memory card. Then, just plug it into the embroidery machine. This step prepares your design, like loading a recipe into a cooking machine. It’s an important bridge between the digital world and the real embroidery process.
Step 7: Ready the Embroidery Machine for Stitching
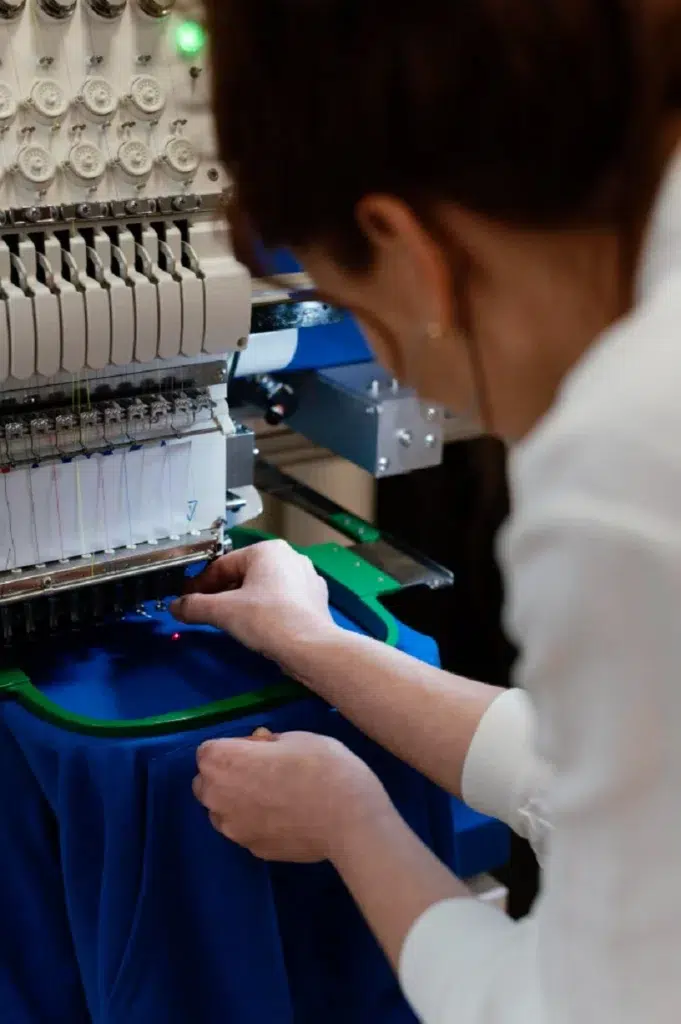
With our logo in the machine, it’s time to get everything ready for stitching. You have to pick your thread colors, load them in the machine, and ensure the fabric is set. This step like preparing a meal – you pick ingredients and ensure everything’s in place before you start cooking. It’s all about getting the machine ready to create our embroidered design.
Step 8: Embroider a Sample to Test Your Digitized Logo
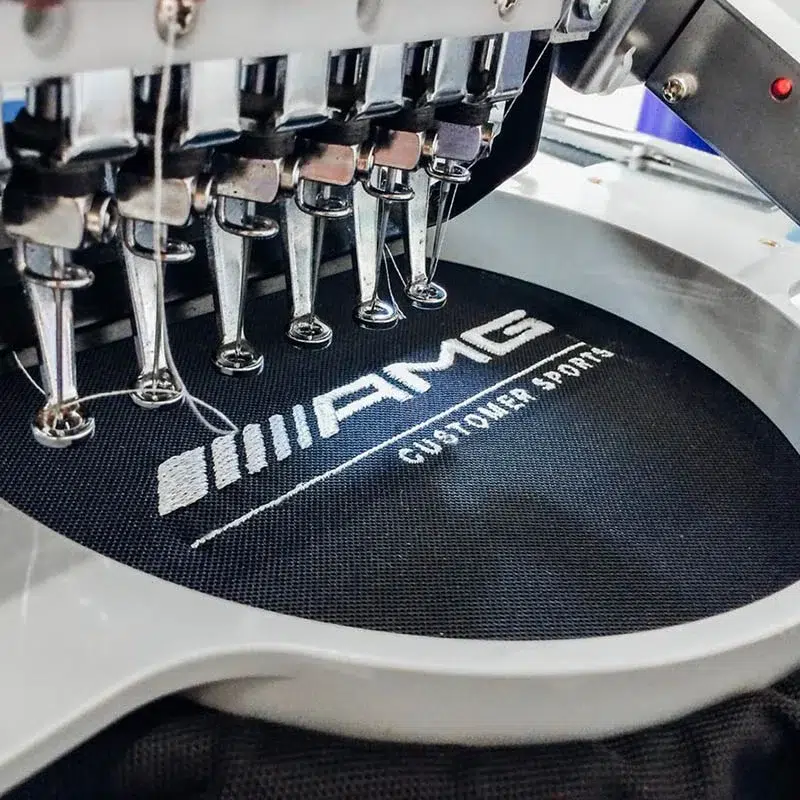
Here we take a test run. It’s like tasting a new recipe before making the full meal. In this stage of logo digitization for embroidery, we check a small part of our design to make sure it looks right. We stitch a small part of our logo on fabric to check if it looks perfect. If something isn’t perfect, you can make adjustments. It’s a bit like practicing a new song on the piano before a big concert. This test helps you make sure your final embroidery will be exactly how we want it.
Conclusion
Digitizing logos is a big deal in the world of embroidery. It’s what allows colorful and detailed designs on clothing, gifts, or promotional items. Digitization ensures that our designs look really good when they’re embroidered. Here We’ve gone through several steps to turn a simple logo into a detailed embroidery design. For beginners, it’s okay if your initial attempts aren’t flawless. It takes practice to get better. Keep trying, learn from your mistakes, and your skills will improve. So, don’t get disheartened. Keep practicing, and let your creativity shine in the embroidery world!
FAQs
What is logo digitization for embroidery?
Logo digitization is the process of converting a logo into a format that embroidery machines can stitch.
Do I need special software for logo digitization?
Yes, you’ll need digitization software designed for embroidery.
What image formats can I use for logo digitization?
Common formats like JPEG, PNG, BMP, and TIFF work with digitization software.
How do I select the right stitch type for my logo?
Choose based on your logo’s characteristics: straight stitches for details, satin for shine, and fill for solid areas.
What’s the importance of thread color selection in digitization?
Thread colors affect your design’s visual appeal and should match your logo and fabric.
What if my embroidery machine can’t handle very small or large designs?
Adjust the logo’s size during digitization to fit your machine’s capabilities.
How to digitize a logo for free?
Free options are limited, but you can begin with trials of basic digitization software to practice and enhance your skills. Keep in mind that comprehensive digitization often requires paid software.

