Vector shapes are a powerful tool in Adobe Photoshop that allows you to create precise and scalable graphics for your designs. Unlike raster images, which are made up of pixels and can become pixelated or distorted when resized, vector shapes are made up of mathematical equations that maintain their quality and sharpness no matter how much you resize them.
But many beginners need help using vector shapes in Photoshop. If you are one of them, you are on the right track. Today, we’ll discuss the easy steps to use vector graphics in Photoshop.
Step-by-Step Process to Use Vector Shapes in Photoshop
If you need to learn how to use vector graphics accurately in Photoshop, things might seem complicated for you in the beginning. But it will only be an uphill battle if you know the proper process. However, this tutorial will walk you through the steps to use different vector shapes in Photoshop and customize them to fit your design needs.
Step 1: Open a New File & Select Shape Tool.
First, you need to open Adobe Photoshop and create a new document. To do this, go to the “File” menu and select “New.” Set the dimensions and resolution for your document, then click “Create.” Next, you must select the “Shape” tool from the toolbar on the left side of the screen. This tool allows you to create vector shapes in Photoshop.
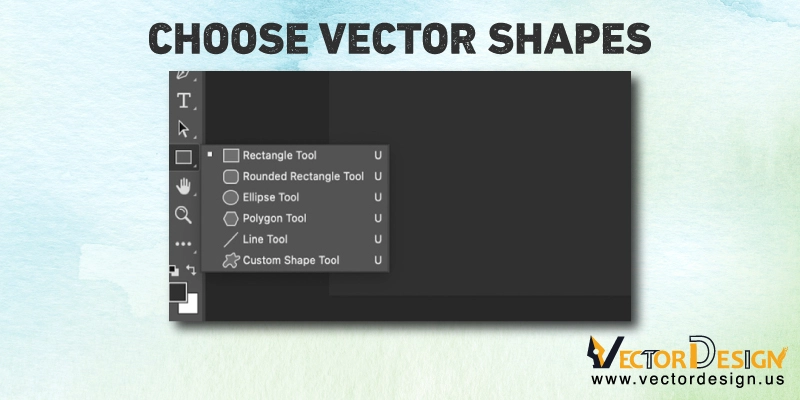
Step 2: Choose Vector Shapes
Next, you have to find a dropdown menu labeled “Shape” in the options bar at the top of the screen. This menu lets you choose from various pre-made vector shapes, including circles, squares, triangles, and more. Select the shape you want to use.

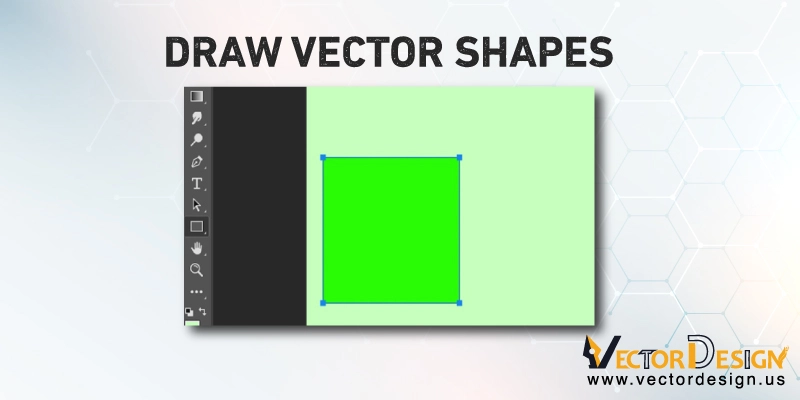
Step 3: Draw Vector Shapes
At this point, you have to draw the right vector shape you want to use. To draw the shape, click and drag your mouse on the canvas. You will find a preview of the shape being created as you drag. Release the mouse button when you have the desired size and shape.
There are different shapes you can make in Photoshop. The technique is the same for all those shapes. Make sure to have a proper idea of the size of the shapes you need. Also, selecting the right shape is equally essential in this case.

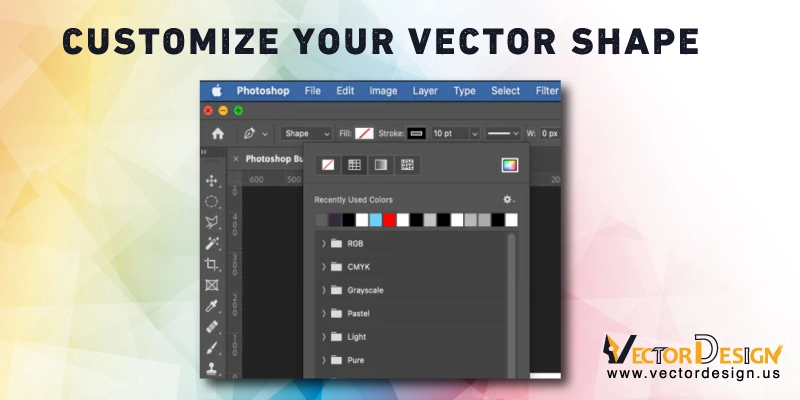
Step 4: Customize Your Vector Shape
Not just draw the shapes, you can customize them as you wish. To customize the shape, you can use the options in the options bar at the top of the screen. For example, you can change the stroke (outline) of the shape by using the “Stroke” menu. You can also change the shape’s fill color by using the “Fill” menu.

Step 5: Add Text
Some of you often want to add text on the vector shapes, especially to make logos. To add text to the shape, select the “Type” tool from the toolbar on the left side of the screen. Click on the shape and type your text. You can use the options bar options to customize the text’s font, size, and color.
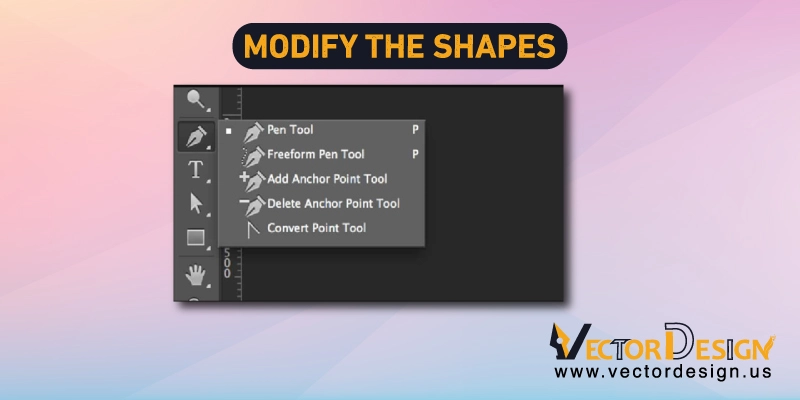
Step 6: Modify the Shapes
Sometimes, the drawn shapes seem imperfect to you. In this case, you may need to modify it even if you have already customized it. To modify the shape itself, you can use the “Path Selection” tool.
You will find the tool in the toolbar on the left side of the screen. This tool allows you to select individual points on the shape’s path. You can move them to change their overall form and modify them as you wish.

The “Pen” tool can create a more complex shape. This tool allows you to create a custom path by clicking and dragging to create anchor points. You can then use the “Direct Selection” tool to adjust the position of individual anchor points and fine-tune the shape.
Step 7: Save the Change
At this point, you should have used the file’s vector shape and want to save it. In this case, you should save the vector shape as a separate file. For that, go to the “File” menu and select “Export,” then choose “Paths to Illustrator.” This will allow you to open the vector shape in Adobe Illustrator or other vector graphics software.
So, these are the easy steps you can follow to use and modify vector graphics in Photoshop. But there is another task you might love to learn about this fact. Make sure to check the following section as well.
How to Add a Vector Shape to an Image?
The following steps help you to draw and use a vector shape on a new file in Photoshop. But many of you might want to add the shape to an existing image. The process is nearly the same in this case, but there are a few changes.
To add a vector shape to an existing image, you can use the “Layers” panel to create a new layer for the shape. This will allow you to move the shape around and make changes to it independently of the rest of the image.

To merge a vector shape with an existing image, you can use the “Layer Mask” tool. This tool allows you to mask certain parts of the image to reveal the vector shape underneath. To use the Layer Mask tool, select the layer containing the vector shape, then click the “Add Layer Mask” button in the Layers panel.
Next, you must use the brush tool to paint over the areas of the image you want to mask. That’s all. The vector shape you have created will be on the image. Now, you can use it for making a logo or anything else.
To Wrap Up
Vector shapes are a versatile and powerful tool in Adobe Photoshop that allows you to create precise and scalable graphics for your designs. Whether you want to create simple graphics art or a logo, you need to use vector shapes. And now, making and using vector shapes will be easy for you.
Make sure to check and follow the steps sequentially. You will definitely smash it within a few minutes. Thank you for your time.
FAQs
How do I add vector shapes in Photoshop?
To add vector shapes in Photoshop, first create a new layer. Then, use the pen tool to draw your desired shape. To add a fill color to your vector shape, simply double-click on the layer in the layers panel and select a color from the color picker.
How do I create a custom vector shape in Photoshop?
To create a custom vector shape in Photoshop, first use the pen tool to draw your desired shape. Then, right-click on the layer in the layers panel and select “Create Custom Shape.” A new window will appear where you can name your custom shape and select a color.
How do I edit vector shapes in Photoshop?
To edit vector shapes in Photoshop, simply select the layer containing the vector shape in the layers panel. Then, use the pen tool to make your desired edits.
Can I fill a vector shape with a solid color or pattern in Photoshop?
Yes, you can fill a vector shape with a solid color or pattern in Photoshop.
Can I convert a raster image to a vector shape in Photoshop?
Yes, you can convert a raster image to a vector shape in Photoshop using the “Image Trace” feature.


