Everything is going to be digital, so why not the signature would be digitalized. Vectorize hand lettering is one of the most used types of digital signature. Converting hand-drawn letter to vector is a valuable service in the illustration industry.
This is a step-by-step tutorial. We answer the question about vectorized hand lettering in Adobe Illustrator CC. Let’s explore.
Step 1: Open the Hand Lettering
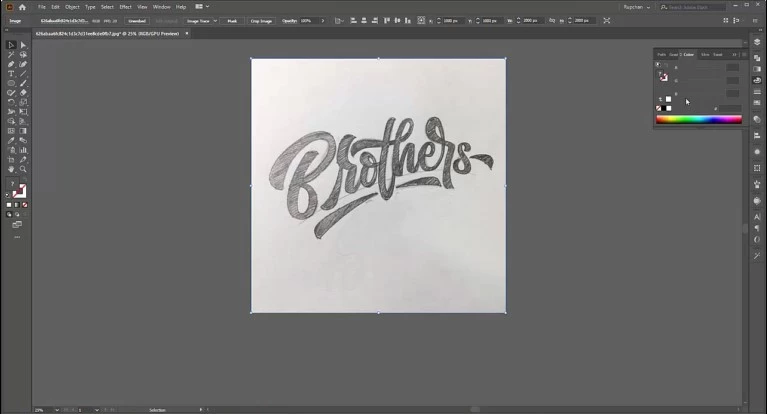
Select a hand lettering and open it on the artboard of Adobe Illustrator.
Step 2: Customize Layer and Stroke
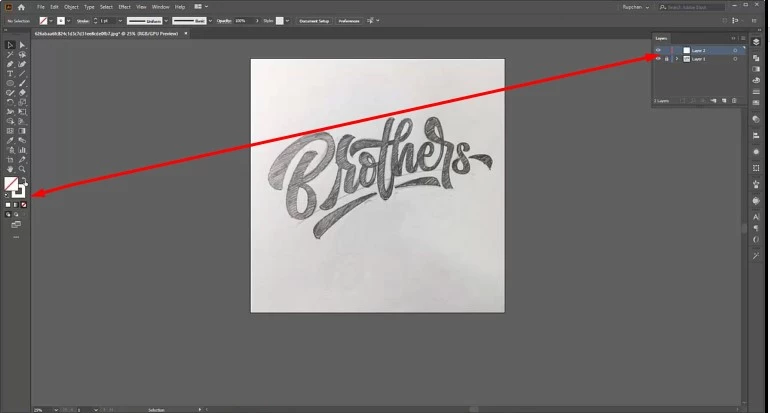
Before jumping into vectorizing hand lettering, we need to customize the layer and stroke properly. Lock the existing layer and create a new one. Select stroke and lock the fill color.
Step 3: Use of Pen Tool
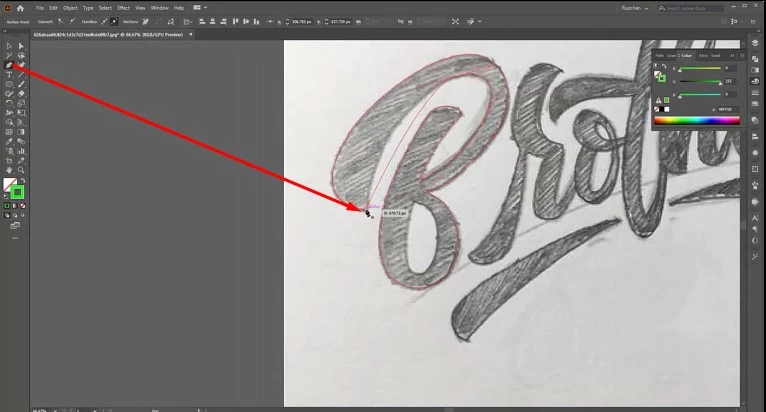
The Pen Tool is the main weapon to vectorize hand lettering. We can select it manually or by pressing ‘P’. Vectorizing the hand lettering with concentration and patience. Don’t be in a hurry to draw a path, it takes several minutes. So that we get a good result.
Step 4: Colorize with Fill Color.
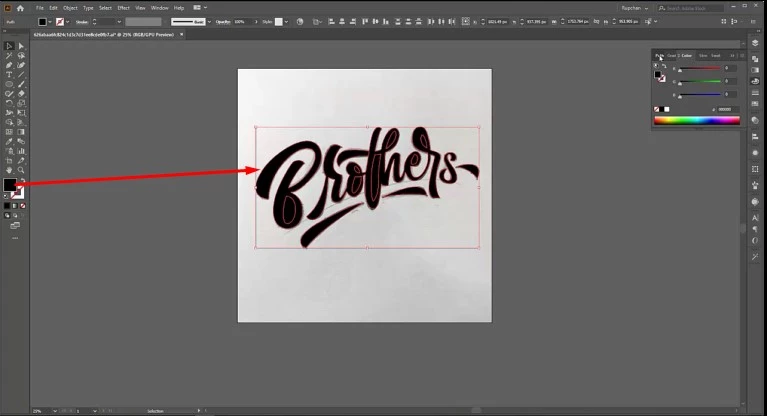
After completing the path drawing, we colorize the path. It is a simple process. Just use the ‘Fill Color’ and that’s it.
Step 5: Save, Separate and export
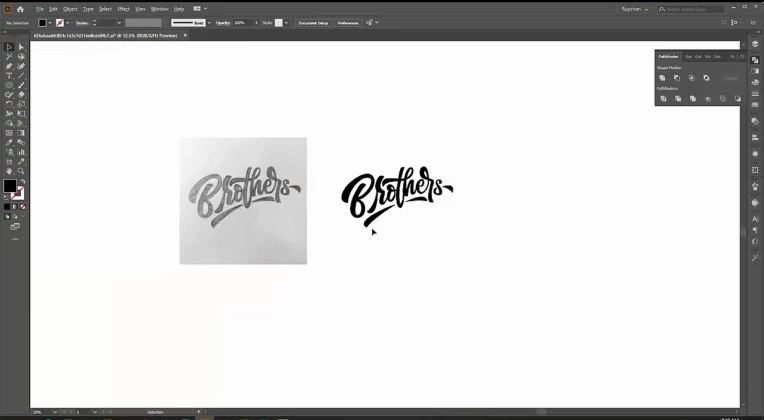
Finally we get the vectorized digital signature. Expand the path. Save it. Separate from the hand lettering image and export the output as needed.
This is our most awaited blog. We brief the tutorial in detail. Vectorize hand lettering is our popular service. You can hire us for your digital signature. We serve your order within a short time.
You can also watch the video – How to Vectorize Hand Lettering


